Mastering the Art and Science of Photography: A Comprehensive Guide to Painting with Light
Mastering the Art and Science of Photography: A Comprehensive Guide to Painting with Light
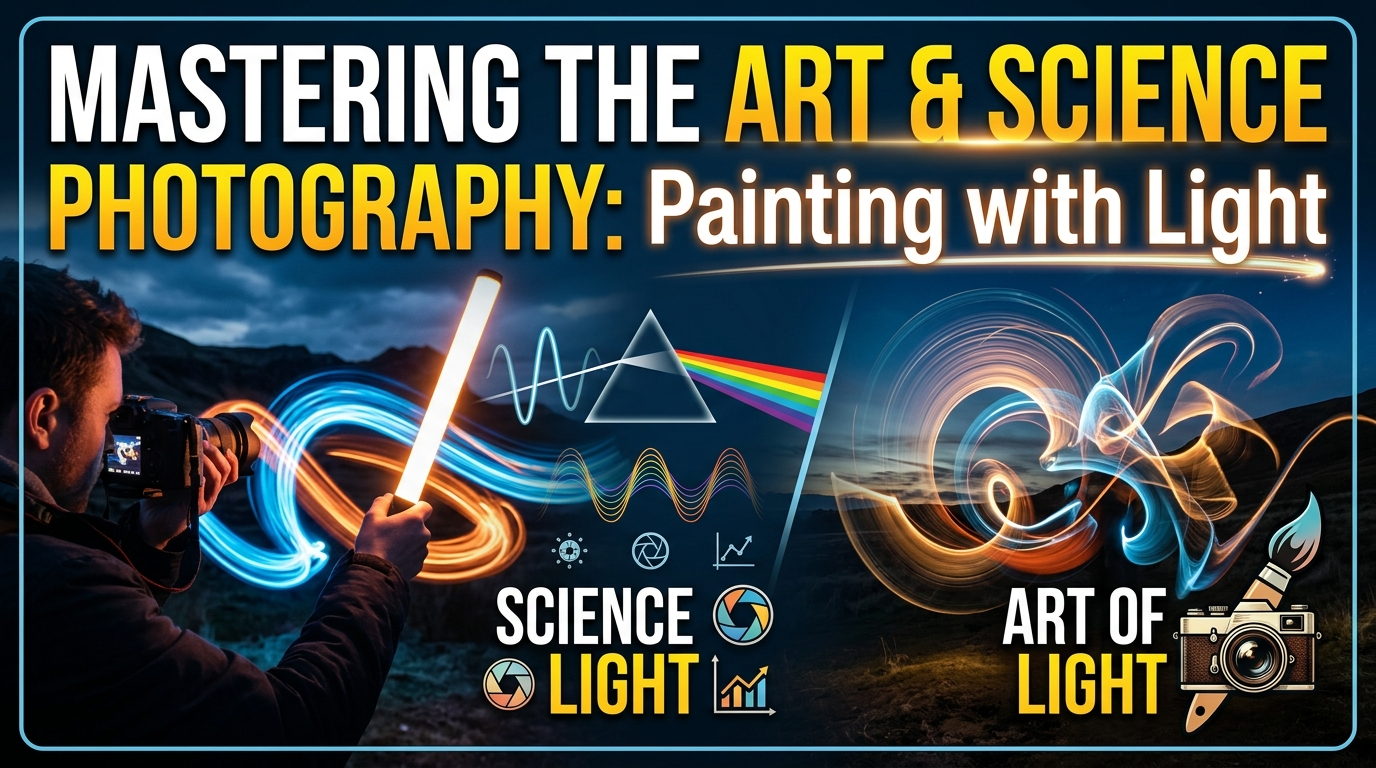
The word "photography" comes from two Greek words: "phos" meaning light and "graphē" meaning drawing or writing. Together, they mean "drawing with light." This simple translation perfectly captures what photography is all about. Whether you're using a high-end mirrorless camera or just your smartphone, the basic action is the same: you're capturing light to freeze a moment in time.
But to turn a photo into something more than just a picture, you need to understand both the science of the camera and the art of storytelling with images. Photography is a special field where technical knowledge meets personal emotion. This guide explains the key elements of photography and gives you a clear path to mastering this powerful way of communication.
The Foundation: The Exposure Triangle
At the center of every camera, whether it's an old film camera or a modern digital one, is the Exposure Triangle. This idea shows how much light reaches the camera's sensor and how that light is recorded. The triangle includes three connected parts: Aperture, Shutter Speed, and ISO. If you change one of them, you'll need to adjust at least one of the others to get the right exposure.
1.Aperture: Controlling Depth and Focus
The aperture is the opening in the lens that lets light in. It works like the pupil of your eye — it gets bigger in dark places to let in more light and smaller in bright places to prevent too much light. Aperture is measured in "f-stops" such as f/1.4, f/5.6, or f/16.
- The Technical Effect: A low f-stop like f/1.8 means a wide opening, letting in a lot of light. A high f-stop like f/22 means a narrow opening, letting in very little light.
- The Artistic Effect (Depth of Field): Aperture is your main tool for controlling "Depth of Field" (DoF) — how much of the image is in focus. A wide aperture like f/1.8 creates a shallow DoF, making your subject sharp while the background becomes blurry. This is good for portraits. A narrow aperture like f/11 or f/16 creates a deep DoF, keeping everything in focus from the foreground to the background, which is great for landscape photography.
2.Shutter Speed: The Master of Time
Shutter speed is how long the camera's shutter is open, letting light hit the sensor. It's measured in fractions of a second like 1/1000s or 1/60s, or in full seconds like 2s or 30s.
- The Technical Effect: A fast shutter speed lets in very little light, while a slow one lets in a lot.
- The Artistic Effect (Motion): Shutter speed controls how movement looks in your photo. A fast shutter speed like 1/2000s freezes motion, like capturing a hummingbird's wings mid-flight or a water droplet mid-splash. A slow shutter speed like 1/10s or slower makes movement blur across the image. This is how photographers create the smooth, flowing look of a waterfall or the light trails of cars moving through a city at night.
3.ISO: Sensor Sensitivity
ISO measures how sensitive your camera's sensor is to light. It used to be about how sensitive film was to light.
- The Technical Effect: A low ISO like 100 or 200 means the sensor is less sensitive, so you need more light or a wider aperture or slower shutter speed for a bright image. A high ISO like 3200 or 6400 boosts the sensor's sensitivity, helping you take photos in dark places without flash.
- The Artistic Effect (Noise/Grain): The main trade-off with ISO is image quality. Higher ISO adds digital "noise" or grain, which can make the image look muddy or pixelated. While newer cameras handle high ISO better than older ones, pushing it too far can reduce color accuracy. The rule of thumb is to keep your ISO as low as your lighting allows.
Composition: The Visual Language
You can get your exposure right, but if everything in the frame is all over the place, the photo won't really connect. Composition is like the grammar of visual storytelling. It's how you lead the viewer's eye around the image and show what matters most.
The Rule of Thirds
The most well-known composition tip is the Rule of Thirds. Picture drawing two horizontal lines and two vertical lines across your frame, making a grid like a tic-tac-toe board. The rule says to place your subject or main point of interest along those lines or at the points where they cross. This keeps things balanced and usually feels more natural to the eye than putting the subject straight in the middle, which can look still and a bit stiff.
Leading Lines
Our eyes naturally follow lines. Photographers use "leading lines" — like roads, fences, rivers, or even shadows — to draw the viewer’s attention from the front of the image into the background, often leading straight to the main subject. This helps create a sense of depth and makes the image feel more three-dimensional.
Framing and Foreground Interest
Adding a frame within the frame is a great way to focus attention on your subject. Shooting through a doorway, an arch, or overhanging branches, or even through a crowd, adds context to the scene and pulls the eye inward. Similarly, including something interesting in the foreground of a landscape photo helps give a sense of scale and makes the viewer feel like they can step into the picture.
Negative Space
Sometimes, what you leave out is just as important as what you include. Negative space refers to the empty areas around your subject — like a big sky, a blank wall, or a dark shadow. Using negative space gives your subject room to breathe and can create feelings of isolation, scale, or calm.
The Supremacy of Light
Photography can't exist without light, and knowing how light works is what separates good photographers from great ones. A skilled photographer doesn’t just look at the subject — they study the light that’s hitting it.
Hard Light vs. Soft Light
Hard light comes from small, direct sources, like midday sun or a bare flash. It creates strong contrasts, sharp edges, and deep shadows. This type of light brings out textures and can make a photo feel dramatic or intense.
Soft light comes from larger, spread-out sources, like an overcast sky or a window on a cloudy day. It wraps around the subject, making the transition from light to shadow smoother. Soft light is flattering and often used for portraits because it softens skin and creates a more gentle look.
The Golden and Blue Hours
Landscape and portrait photographers love the "Golden Hour," the short time right after sunrise or just before sunset. During this time, the sun is low, and its light travels through more of the atmosphere, acting like a giant diffuser. This gives a soft, warm glow and long, dramatic shadows.
The "Blue Hour" happens just before sunrise or after sunset when the sun is below the horizon. The sky is bathed in cool, calm blue light, making it perfect for cityscapes, especially as streetlights start to come on.
The Modern Photographer's Toolkit: Gear and Post-Processing
The digital revolution has changed how photos are taken and how they're finished.
The Philosophy of Gear
A common mistake for new photographers is thinking that getting a better camera will automatically make their photos better. While professional gear has bigger sensors, faster autofocus, and better low-light performance, it's just a tool. A great photographer can take a stunning photo with an old smartphone, while a beginner might take a dull, poorly composed shot with a high-end camera. The best camera is the one you have with you — your eye, patience, and understanding of light are far more important than the brand on the lens.
The Digital Darkroom (Post-Processing)
In the digital age, clicking the shutter is just the start. Post-processing — using software like Adobe Lightroom, Photoshop, or Capture One — is like the modern chemical darkroom.
To get the most out of this phase, serious photographers shoot in RAW format. Unlike a standard JPEG, which compresses and loses data, a RAW file acts like a digital negative. It holds all the data the sensor captured. This gives you more flexibility to recover details in shadows, fix overexposed areas, adjust color temperature, and fine-tune colors without losing quality.
Post-processing isn't about making things look fake — it's part of the creative process. It lets you adjust brightness and contrast, enhance specific areas, and tweak the color palette to express the mood and emotions you felt when you took the photo.
Conclusion
Photography is a journey of learning to see the world in a different way. It teaches you to notice the lines in a city, the way morning light passes through a window, or the small expressions on someone's face.
Mastering the exposure triangle is essential, but it's just the first step. True skill comes from combining technical knowledge with a deep understanding of composition, lighting, and storytelling. It's about patience, curiosity, and the drive to turn a three-dimensional world into a two-dimensional image that makes someone pause, look, and feel something.